People ask me all the time what gear I use, so here are the tools of the trade that are in my gear bags with a description as to what I use each piece for with affiliate links to B&H, my preferred camera store, in case you want to purchase it for yourself. If you use these links to purchase your gear from B&H they will give me a small commission on your sale.
Camera Bodies:

Canon R6 and Canon R6MKII: I adore these cameras! The R6 is an amazing full frame mirrorless camera at a reasonable price. It has the same game changing eye tracking and in body image stabilization that the R5 does. It has 2 SD slots so I am able to continue to use my old SD memory cards. I did not need 8K video capabilities that he R5 has, 4K is more than enough for me. The low light performance of the R6 series is phenomenal. I didn’t need the extra megapixels the R5 has for most of my day to day work.

Canon R7: I have two of these. One for me and one for my second shooter. I added the Canon R7 to my lineup for two reasons. 1) It is a crop body sensor. When I am shooting events sometimes 200mm just isn’t long enough. But if I throw the 70-200 on the R7 now I have the equivalent of up to 320mm lens in my bag without having to bring an extra giant lens with me. 2) It was about $1000 less than the R6mkII at the time and I wanted to have my second shooter have a backup body.
Lenses:
Canon RF 24-105 f/4.0L IS: This is a great all around lens. It allows me move seamlessly from shooting headshots to portraits. It has the native RF mount so I don’t need to use the adapter EF to RF adapter. I also like to use it for corporate event photography. This is the lens I use most now that I have the R6.

Canon RF 70-200 f/4: Before I got the 24-105, the EF 2.8 version of this lens was the lens that got the most use in my bag. I used it for headshots. I used it for product shots. I used it for first looks and first dances. I LOVED THIS LENS! When I first started out in wedding photography this lens was too heavy for me to hand hold for long periods of time so I used the Canon 135mm prime which is much lighter. Because I no longer need my lens to go all the way down to 2.8 I choose the lighter the 70-200 f/4L which is considerably lighter and less expensive.

Ultra Wide Lens Choices: The Canon EF 16-35 f/2.8L USM was my go to lens for dance floor receptions at weddings and audience shots at corporate events. Its field of view is HUGE! But then I realized, if I am needing a wide angle lens most of the time I need it for the 16mm focal length. The 16-35 EF lens with RF adapter took up a lot of space and WEIGHT in my bag. So I decided to get the Canon RF 16mm 2.8. It is TINY! I pack it with me for every event I shoot now and don’t have to give a second thought about the space or weight it will take up in my bag. I also got it for video shoots when using my RS2 gimbal.
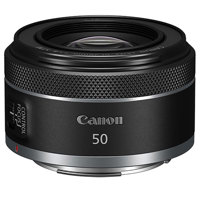
Canon RF 50mm f/1.8L: In super low light this is the lens to use with its wide open f/1.8 maximum aperture. The classic nifty 50 is perfect when shooting video on a gimbal and you don’t want your arms getting tired with a heavy rig and for getting that super creamy background bokeh blur.
Lighting:
 Westcott Flex Cine Peter Hurley Bi-Color Studio Kit: The flex kit is my go to lighting in studio for headshots and portraits. Using these continuous lights allows me to see in real time EXACTLY what the light on my subject will look like. Adding this to my arsenal of tools was a game changer for me. When I am shooting off site I use the Westcott Peter Hurley Flex Cine Bi-Color 3-Light Kit (1 x 2′). The 1’x2′ panels are a little less forgiving than the 1’x3′ panels but they pack up into a suitcase nicely for air travel.

Impact Column Stand with Sliding Arm: These are the heavy duty light stands I use in studio. I love how the sliding arms allow me to easily change the height of the light panels.

Manfrotto Nano Plus 3-section light stand: I have two of these. They are very handy when you need a light placed quite low or you just need to have a light stand with you and you want to be able to just strap it to your bag instead of over your shoulder.

Stacking travel light stands: I have three 7′ stacking light stands from Manfrotto. They fit perfectly into my hard sided suitcase that I bring the travel flex kit in for off site shoots.

Swivel Super Clamp: These Kupo 5/8″ Swivel Super Clamps are perfect for use with the flex kit. I vastly prefer them to the knuckle that comes with the kit. These are extremely strong and allow me to easily adjust the angles of the panels on the fly.

Fillable water weight bags: When I don’t have access to bottles or cans of fluid on a site, I use these Westcott HurleyPro H2Pro Weight Bags that allow me to just go and fill them up with water at any sink.

Raya 9″ Bi-Color Round LED light: This is what my assistant has dubbed the “cutie light”. It is a great thing to have for SOOOOO many purposes. When she is doing hair and makeup on site we use it to light the person. During the shoot I have this light on me when I am using the flex kit because we shoot in a dark room and it is hard for subjects to see me without it on. It can also be used as a background light in a pinch. When I do my signature shot on the X-Drop Blush background I use this light’s bi-color feature to change the background to a color that matches the subject’s lip color perfectly. I love how portable this light is. It even has a handle on the back so it can be hand held or hung on objects. It can also run off of batteries if needs be.
Strobes:

Westcott FJ200 Strobe Kit: This kit has everything you need to make the FJ200 the powerhouse you’ve heard about. It has the FJ200, a bracket mount, a reflector, and a grid. I originally started out with Godox strobes, but I switched over to all Westcott lights after experiencing the all too common battery issue that is part and parcel of using Godox lights. I had many a battery not get used for a month and then it wouldn’t ever hold a charge again. That isn’t the case with Westcott batteries. I once didn’t use a Westcott battery for a full year and it still held its charge! After that I said goodbye to all my godox gear. They come in a compact little case so whenever I go on off site headshot gigs I pack 3 of them with me and some umbrellas just in case there is so much ambient light that shooting with the flex isn’t a good choice, I have them as a great backup.

Westcott FJ-X3 M Universal Wireless Flash Trigger : This is such a great trigger. It holds a charge SOOOO well! It allows me to control all my lights from afar.

Extra Batteries: These lights can get about 450 full power flashes to a fully charged battery, but I never take chances. So I always bring multiple extra batteries with me on a shoot.
Lighting Modifiers:
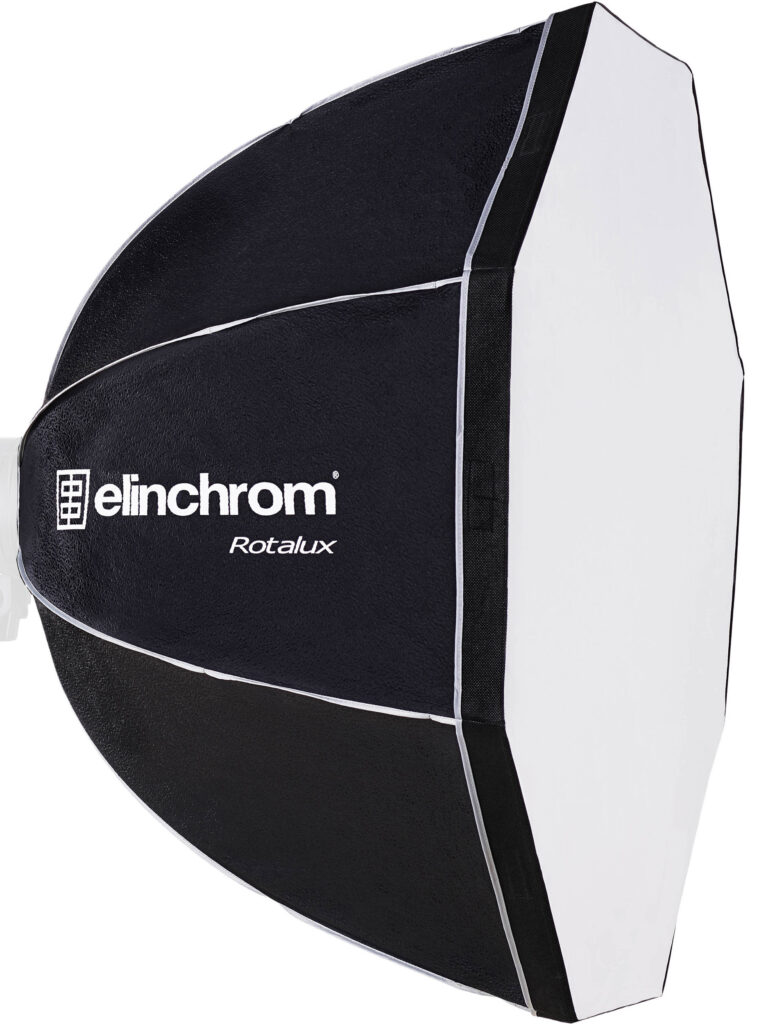
Elinchrom 39″ Rotalux Deep Octabox: This lighting modifier is the reason why I bought Elinchrom lights when I started out with studio photography. I loved the quality of light that Annie Leibovitz had in her portraiture, so I looked at as many behind the scenes shots I could find of hers and the thing I saw over and over was this Rotalux Deep Octabox. The light it produces is painterly. The narrow shaped Deep Octabox reduces the spread of light and offers sharper shadows compared to standard sized Octaboxes. It provides a very even diffuse light over the front diffuser and is an excellent crispy and direct light when used without diffusers to give a beauty dish look.

Westcott Rapid Box Switch Octa-L 48″ : This octabox has a huge diameter but isn’t too deep. This makes it easier to manage in many situations. For full body shots it gives nice even lighting from head to foot. Setup is as easy as opening and closing an umbrella. You can get a deflector plate for it as well.

Westcott Rapid Switch Strip Softbox 1’x4′: I have two of these so that I can light subjects from both sides, head to toe, for that classic dramatic athlete look.

Westcott Rapid Box Switch Strip Softbox 1 x 3 Lock 12×36″ Quick Strip Softbox: I have two of these that I use when doing the Peter Hurley style triangle of light or parallel light setup and need to use strobes to cut out the ambient. They are super quick to set up.

Westcott Rapid Box Switch Strip Softbox 1 x 2: I have one of these little guys. I use it for the bottom of the Peter Hurley triangle of light setup or as a rim light/kicker. I love how light and shallow it is. This 1’x2′ softbox can fit almost anywhere.

Westcott Quick Mount S-Bracket: this newer version of the Godox S bracket is soooooo much better than the original. It is much stronger and easily holds my largest modifiers in place with no problems at all. It works with rectangular heads and round heads so I can use them on the ad200s and ad300s. I have 4 of these which allows me to attach bowens mount modifiers on all of my lights.

Westcott FJ80 II M Universal Touchscreen 80Ws Speedlight: I use these little work horses for my event photography work mainly as on-camera flashes but also use them as transmitters and sometimes as off camera flash. Offering more power than ever, the recently updated FJ80 II M Universal Touchscreen 80Ws Speedlight from Westcott f eatures a 2.8″ LCD touchscreen, multi-camera TTL compatibility, and a rechargeable battery that will give you 500+ full-power flashes. The FJ80 II also offers an incredible 9-stop power range in 0.1-stop and 1-stop increments, recycles in 0.05 to 1.5 seconds, and is capable of a blazingly fast 20 fps. It also supports High-Speed Sync up to 1/8000 second as well as front and rear curtain sync. One of the speedlight’s unique features is its multi-brand TTL compatibility. The flash is compatible with most Canon, Nikon, Sony (with adapter), FUJIFILM, Panasonic Lumix, and Olympus cameras, and with its integrated 2.4 GHz transceiver, you can use the FJ80 II on-camera as both a flash and transmitter. You can control FJ400 and FJ200 strobes, FJ-XR receivers, off-camera FJ80-series speedlights, and Canon RT devices directly from the hot shoe.

MagMod Professional Flash Kit 2: I have jumped on the MagMod bandwagon. It really is a brilliant invention that works so well. It is expensive but worth it.
Backgrounds:


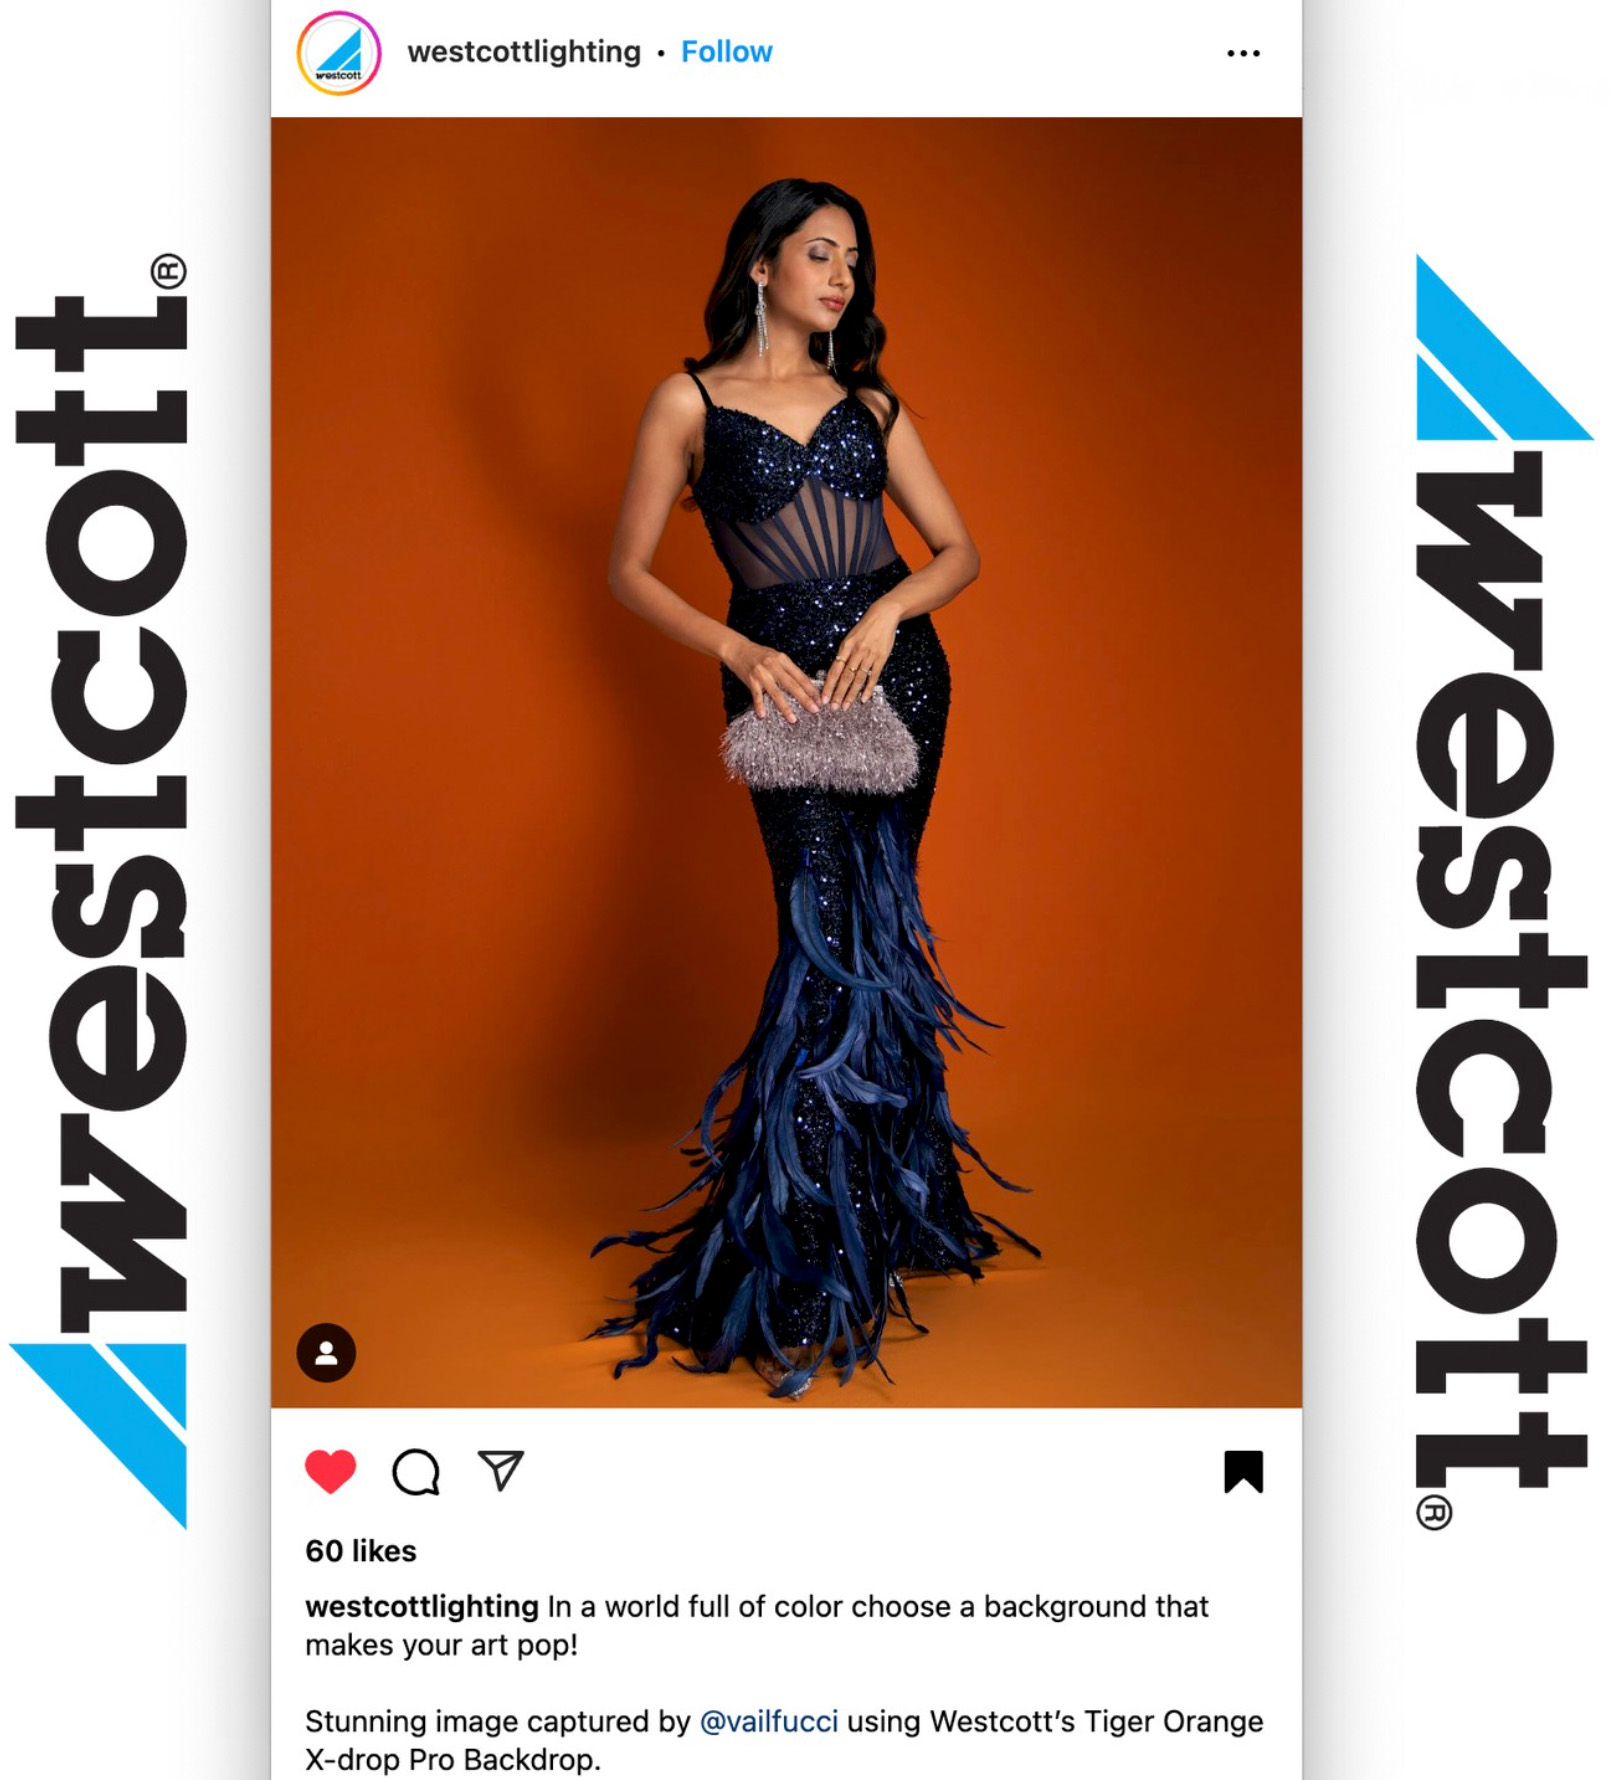
Westcott X-Drop Pro Wrinkle-Resistant Backdrop Sweep Kit (High-Key White, 8 x 13′): This is such a brilliant invention by Westcott. It is so much lighter than my old port-a-stand from Savage. The footprint is smaller. And it all comes in such a well thought out bag that makes it easy to transport. I bought the one with sweeps and a 3 pack so I have white, gray, and black at my disposal. They make other printed backdrops for them as well. I love that my fabric ones are washable and really don’t show wrinkles. I was even able to take grommets and make my old fabric backdrops work on the X-Drop frame. I recently upgraded to their pro version that is 8×8. It also fits the old 5×7 backdrops as well. That extra size makes it better for taller subjects or if you are shooting a small group. I have just about every color backdrop Westcott makes, but the blush color backdrop and tiger orange backdrop are the ones I use the most. When I shoot on them the client almost always buys one of the images. For the blush backdrop I tend to put the Raya light behind my subject and then change the color temp and intensity until it basically matches their lip color.


Manfrotto HiLite Illuminated Background: This is what I use when I need to get a 255 knock out white background in camera.
Tripod:
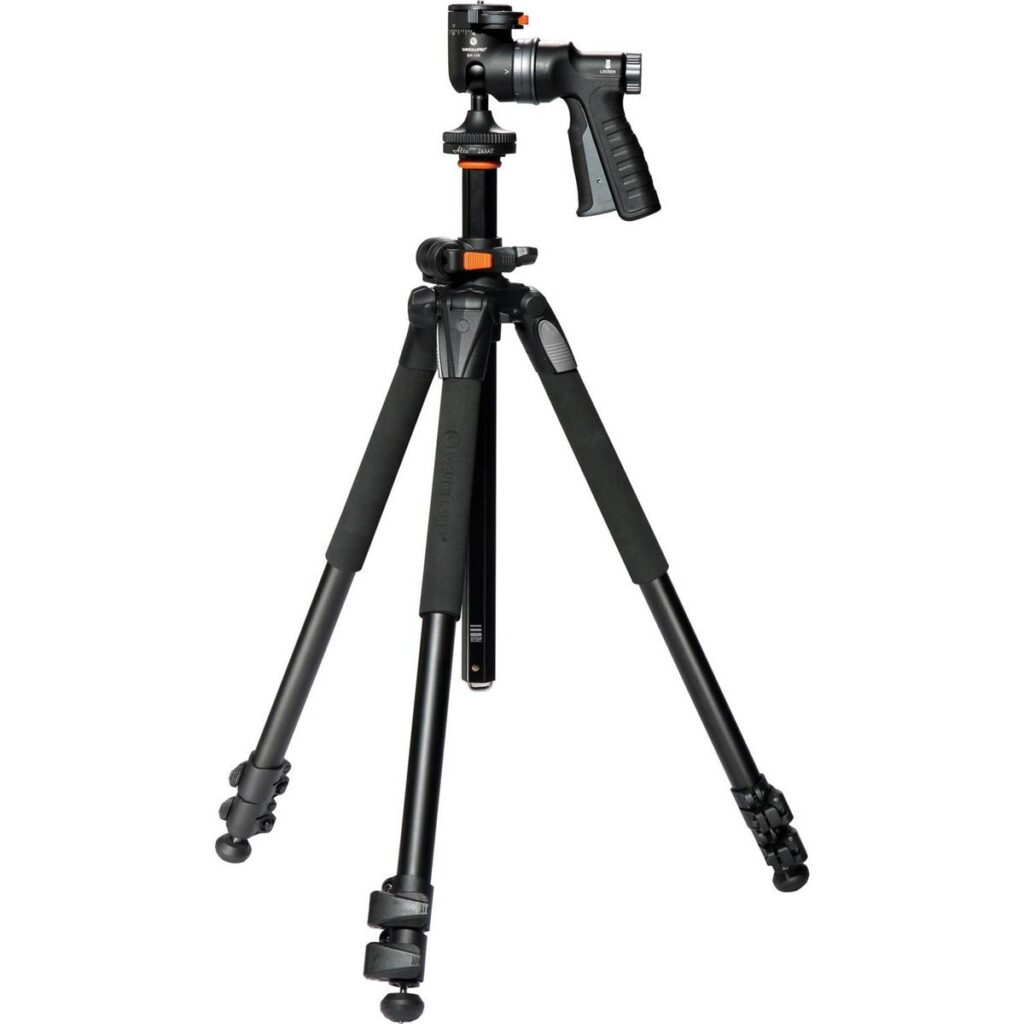
Vanguard 263-AGH Tripod with Pistol Grip: This tripod is so versatile. The column can come out of the vertical position with Vanguard’s multi angle central column system design which allows me to use it nicely for flat lays. The pistol grip is fabulous for quick changes to your angle of your shot with ease. The legs adjust to 25, 50 and 80-degree angle which enables extreme low-angle photography.
Tethering Setup:
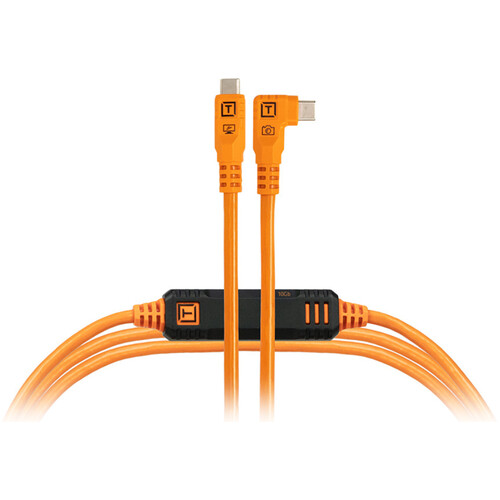
Tether Tools TetherPro Optima USB-C Cable (15′, High-Visibility Orange, Right-Angle): for super reliable tethering I use Tether Tools cables. If you have a Canon mirrorless camera splurge and get this model to avoid your camera using your laptop as a battery charger. I prefer the high-vis orange color to decrease the chances of people tripping on them.
 16″ Macbook Pro M4 Max: I choose the 16″ version so that when I am shooting on location I have the largest screen possible for clients to be able to review their images with. AI generated content takes lots of processing power so I went with the I went with a M4 Max with a 8TB SSD and 64GB of RAM. It is a BEAST!

BenQ 27″ monitor with calibrator: When I am shooting in studio I use this monitor. I connect it to my laptop. The calibrator is used to profile the BenQ monitor and my laptop monitor.
Mac Mini: My assistant uses a mac mini for retouching. It is powerful and I can easily hook up a monitor to it for more consistent color than a laptop.
Memory Cards:
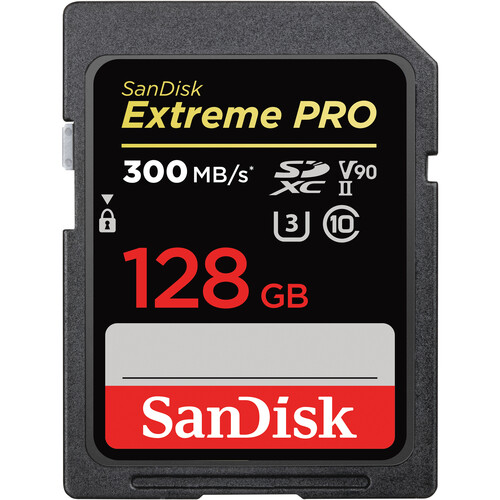
SanDisk 128 GB Extreme Pro: I only use SanDisk for my memory cards. They are the only brand I totally trust.
Video Accessories:
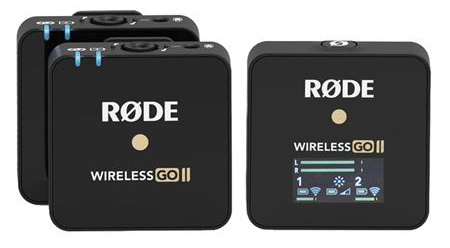

Rode Microphones Wireless GO II Compact Microphone System with 2x Transmitters and 1x Receiver: When I am doing my videos for youtube I capture the audio using one of these little guys. They are super simple to use. The transmitters even have internal memory and record what you are saying as well as the receiver laying down the audio track on your camera footage, this is great if you want to record audio without even using your camera. Rode Lavalier Go: To get even clearer sound and so I don’t have a big square on the neckline of my shirts, the lav mic is much smaller and inconspicuous. The lav mic connects right into the Wireless Go transmitter. The transmitter can then just clip onto some other part of my outfit that is out of the shot.
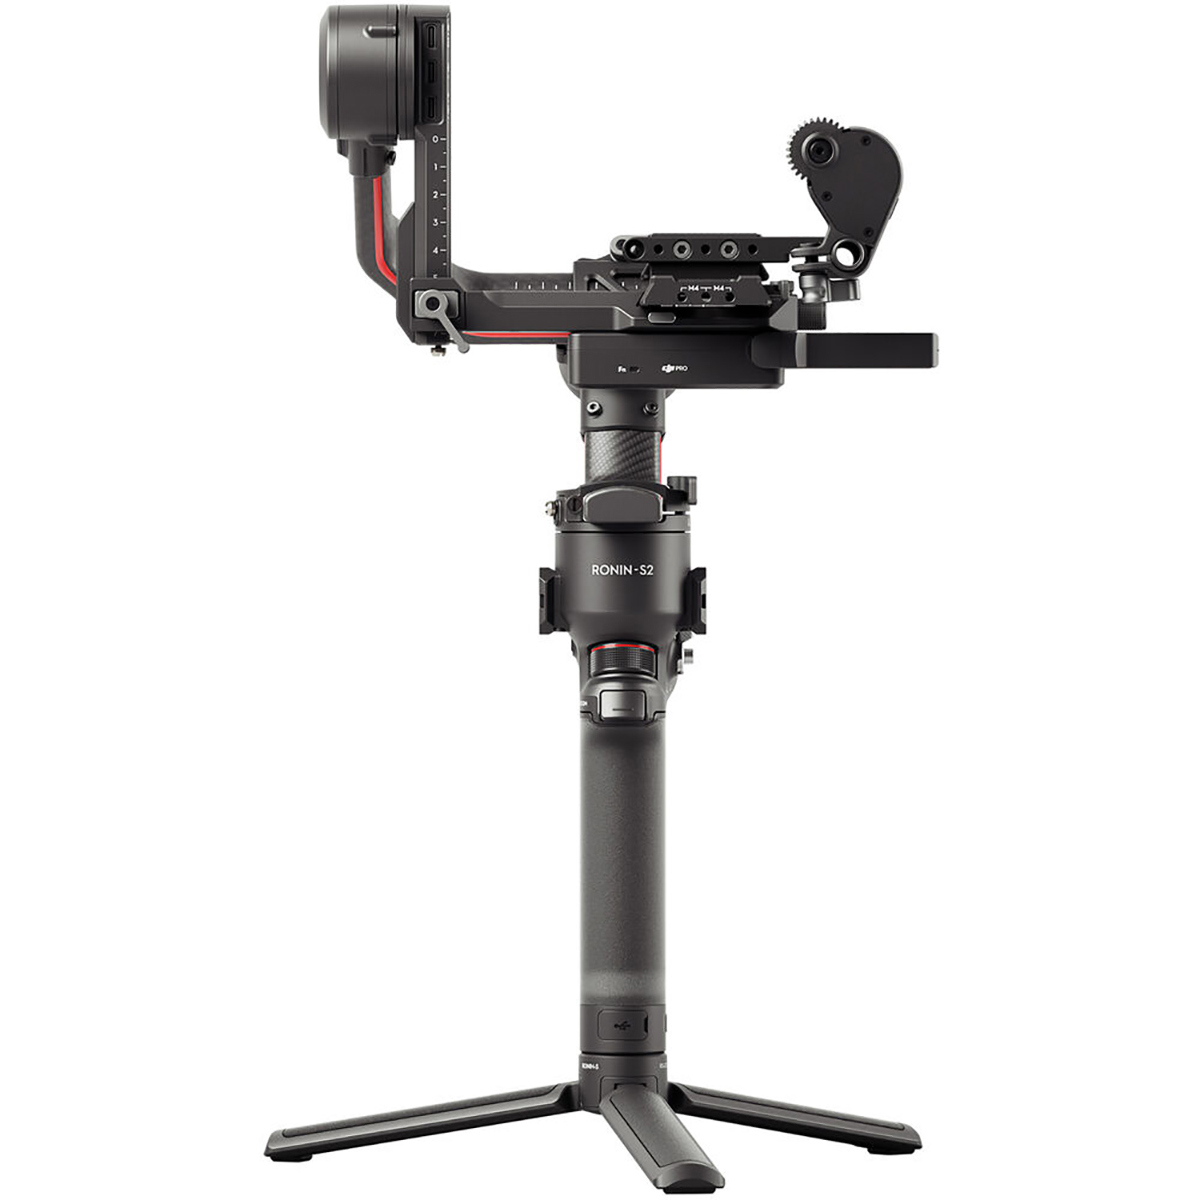
DJI RS 2 Gimbal Stabilizer Pro: When hand holding the camera for video it has GOT to be stable. This takes care of stabilization.

DJI Osmo Pocket 3 Creator Combo: This is what I use for much of my filming on location. I have found it much easier to use than the Ronin Gimbal. For an idea of how I use it check out my B&H event space talk.
Gear Bags:

Think Tank Airport Takeoff Rolling Backpack: My camera bodies and lenses go in this bag. I have had it since 2010 and it is still holding up. This is what I bring with me when I am shooting weddings.
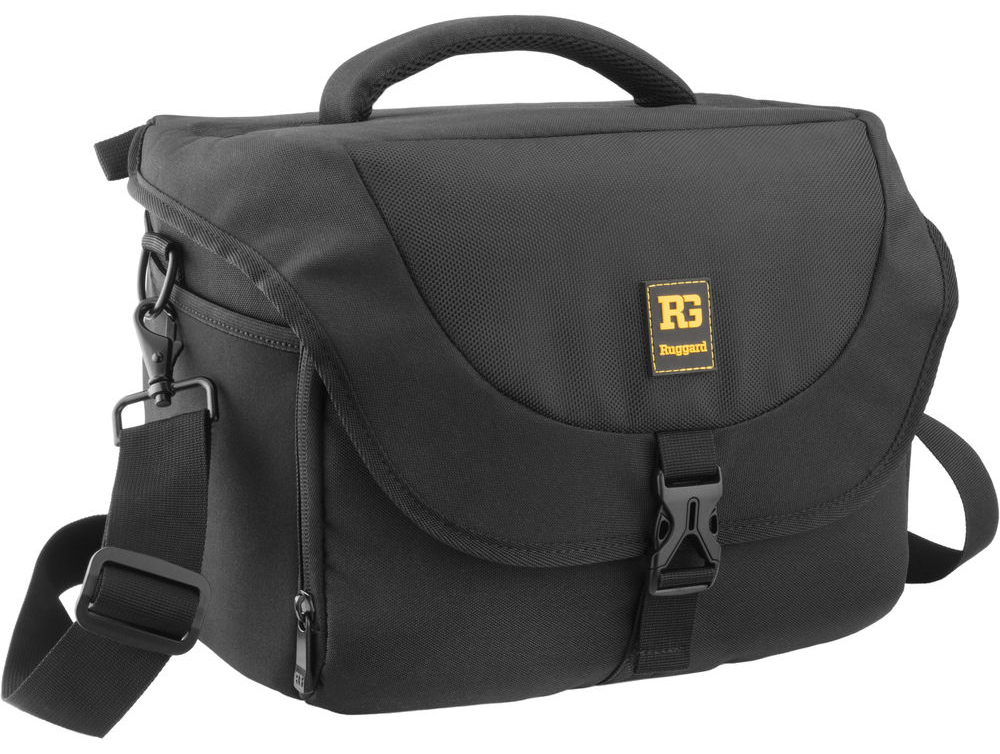
Ruggard Journey 44 DSLR Shoulder Bag: This came with my 5dmkIV and it amazingly fits my 2 camera bodies the 70-200 and the 24-105 comfortably. This is what I usually give my second shooter to use or I fill it with audio equipment when doing video on a shoot as well. I love that it both zips the section closed and has a quick release buckle so it takes some of the stress off of the zipper when I have it all loaded up and pick it up from the top handle.
And that’s everything! Hope you enjoyed this tour of gear!
Studio Equipment
Much of my equipment is used ONLY in my studio and doesn’t come with me on location.
Since I have drop ceilings I use the Impact Drop ceiling adapter which easily scissor clips to the rails on the ceiling.
V-Flats: I have two of these setup in my studio space. These allow me to easily reflect back light where I want it or to flag it off.

COLOR MANAGEMENT:

Calibrite ColorChecker Passport II: This is with me on EVERY shoot. It is the quickest way for me to get accurate color. Using this hard bound, small, and convenient target I can create a custom profile for my camera and have a white balance target. This takes out all the guesswork of color correction and ensures an accurate color balance every time. Along with extra camera batteries this is the most used piece of photo gear in my kit. Don’t leave home without it!